A Step-by-Step Guide to Using Our Magnetic Chalkboard Stencils &
Paint Pens to Make Your Chalkboard
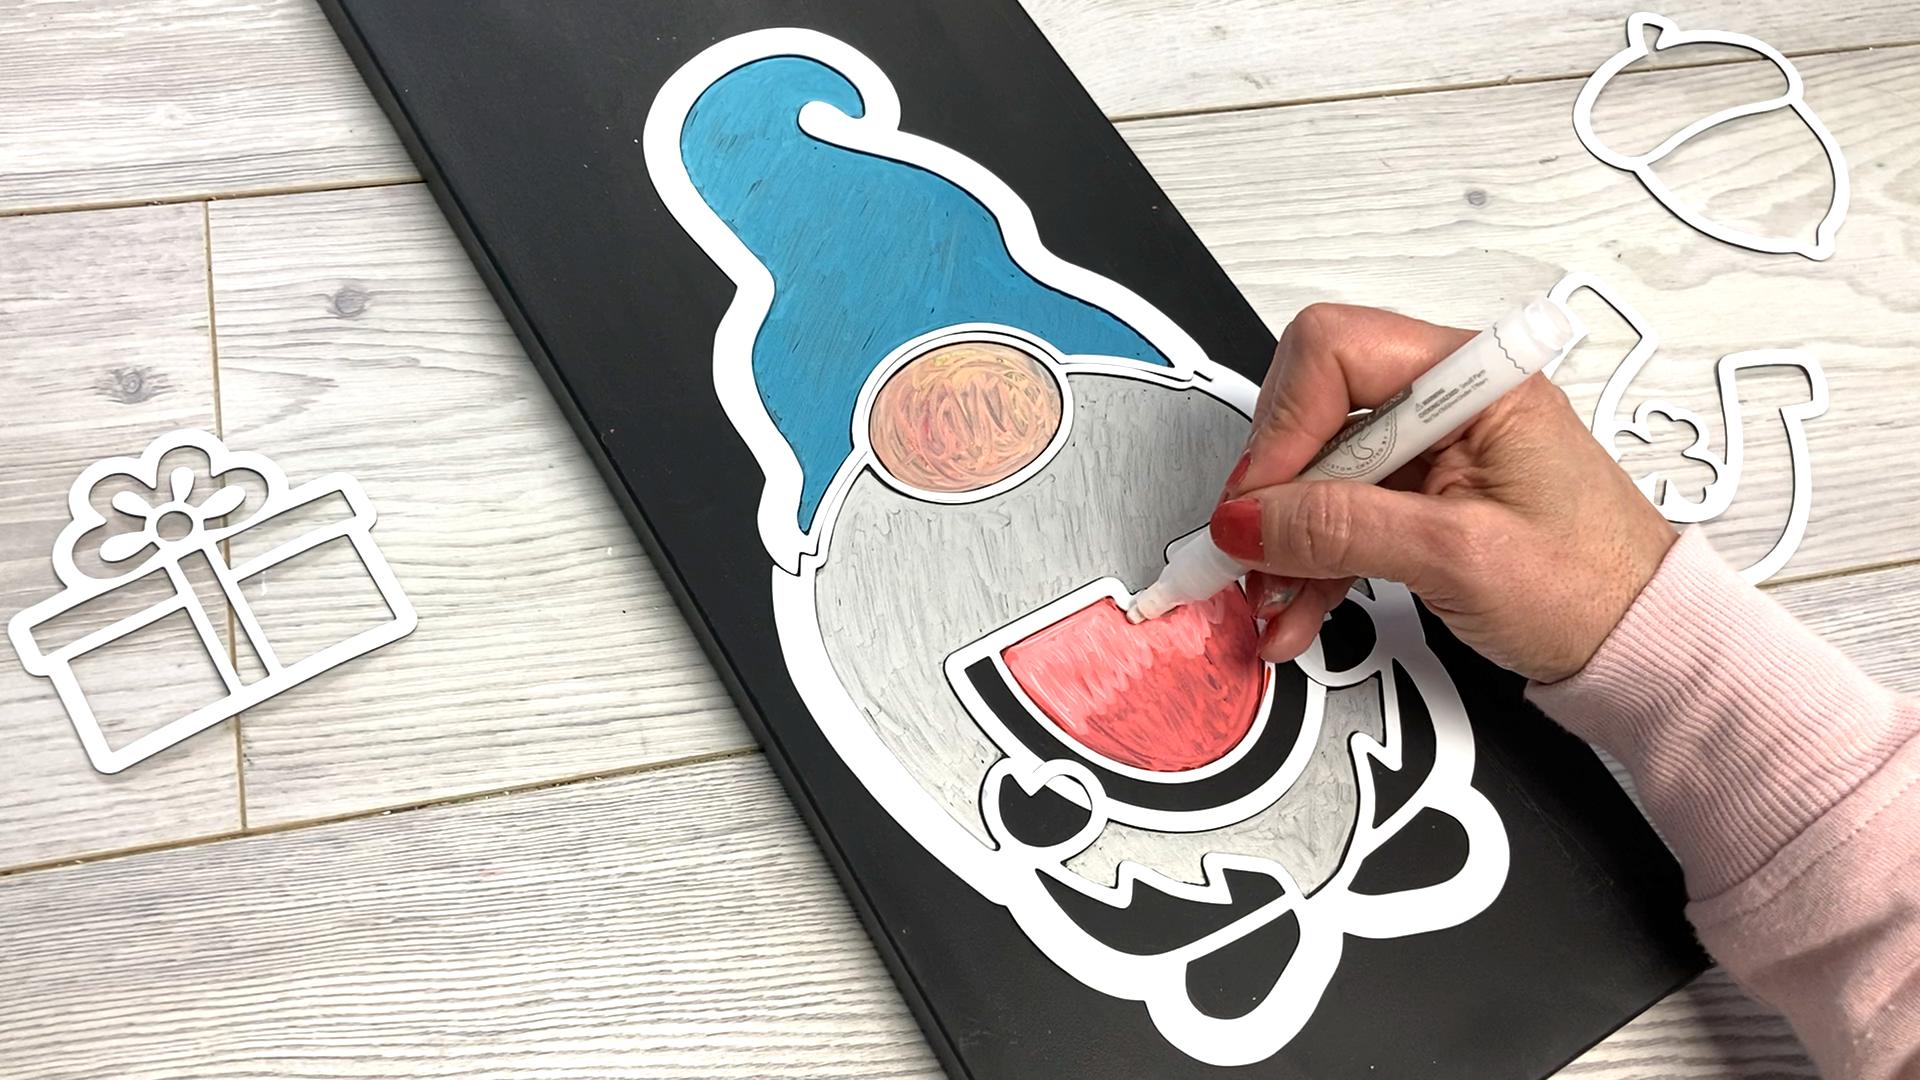
You don't have to be an artist to create amazing chalk art with Plata's magnetic chalkboard stencils. If you can color, you can craft beautiful DIY welcome and holiday signs! Our easy-to-follow guide will help you use our stencils and markers to unleash your creativity. Learn how to mix and layer colors for added depth and dimension, and how to clean your chalkboard for a fresh start every time. So grab your supplies and let's create a cute gnome sign together!
You don't have to be an artist to create amazing chalk art with Plata's magnetic chalkboard stencils. If you can color, you can craft beautiful DIY welcome and holiday signs! Our easy-to-follow guide will help you use our stencils and markers to unleash your creativity. Learn how to mix and layer colors for added depth and dimension, and how to clean your chalkboard for a fresh start every time. So grab your supplies and let's create a cute gnome sign together!
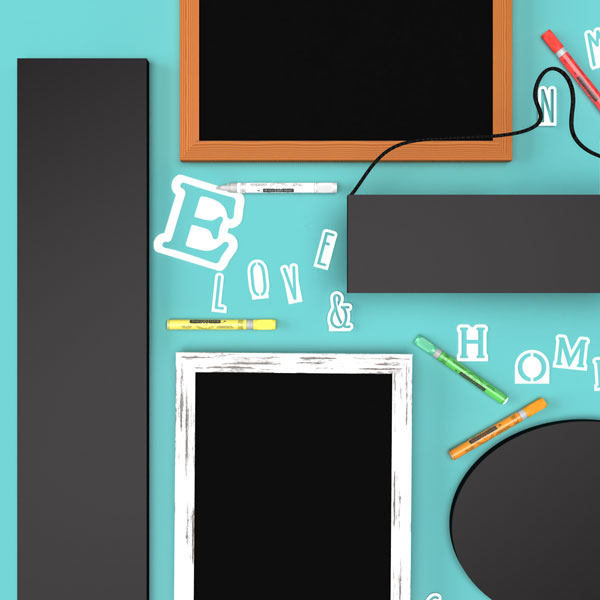
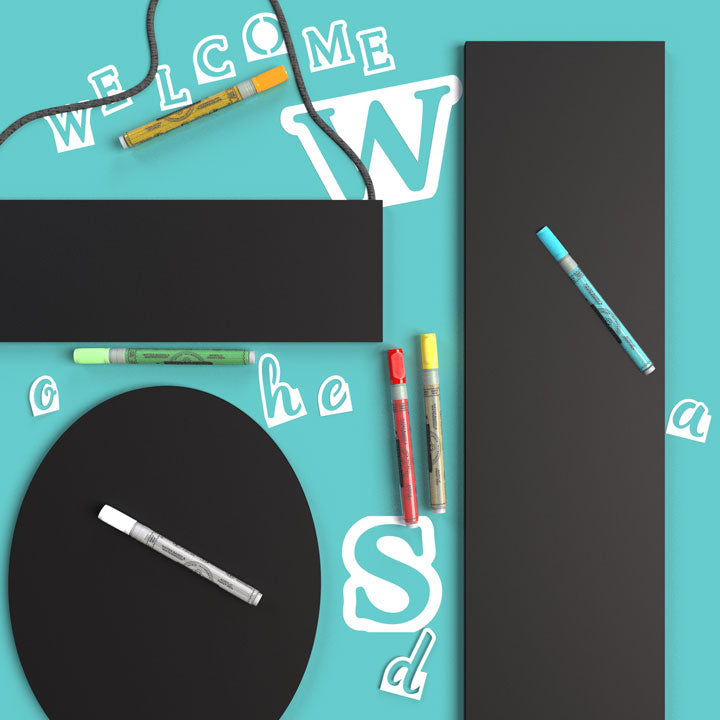
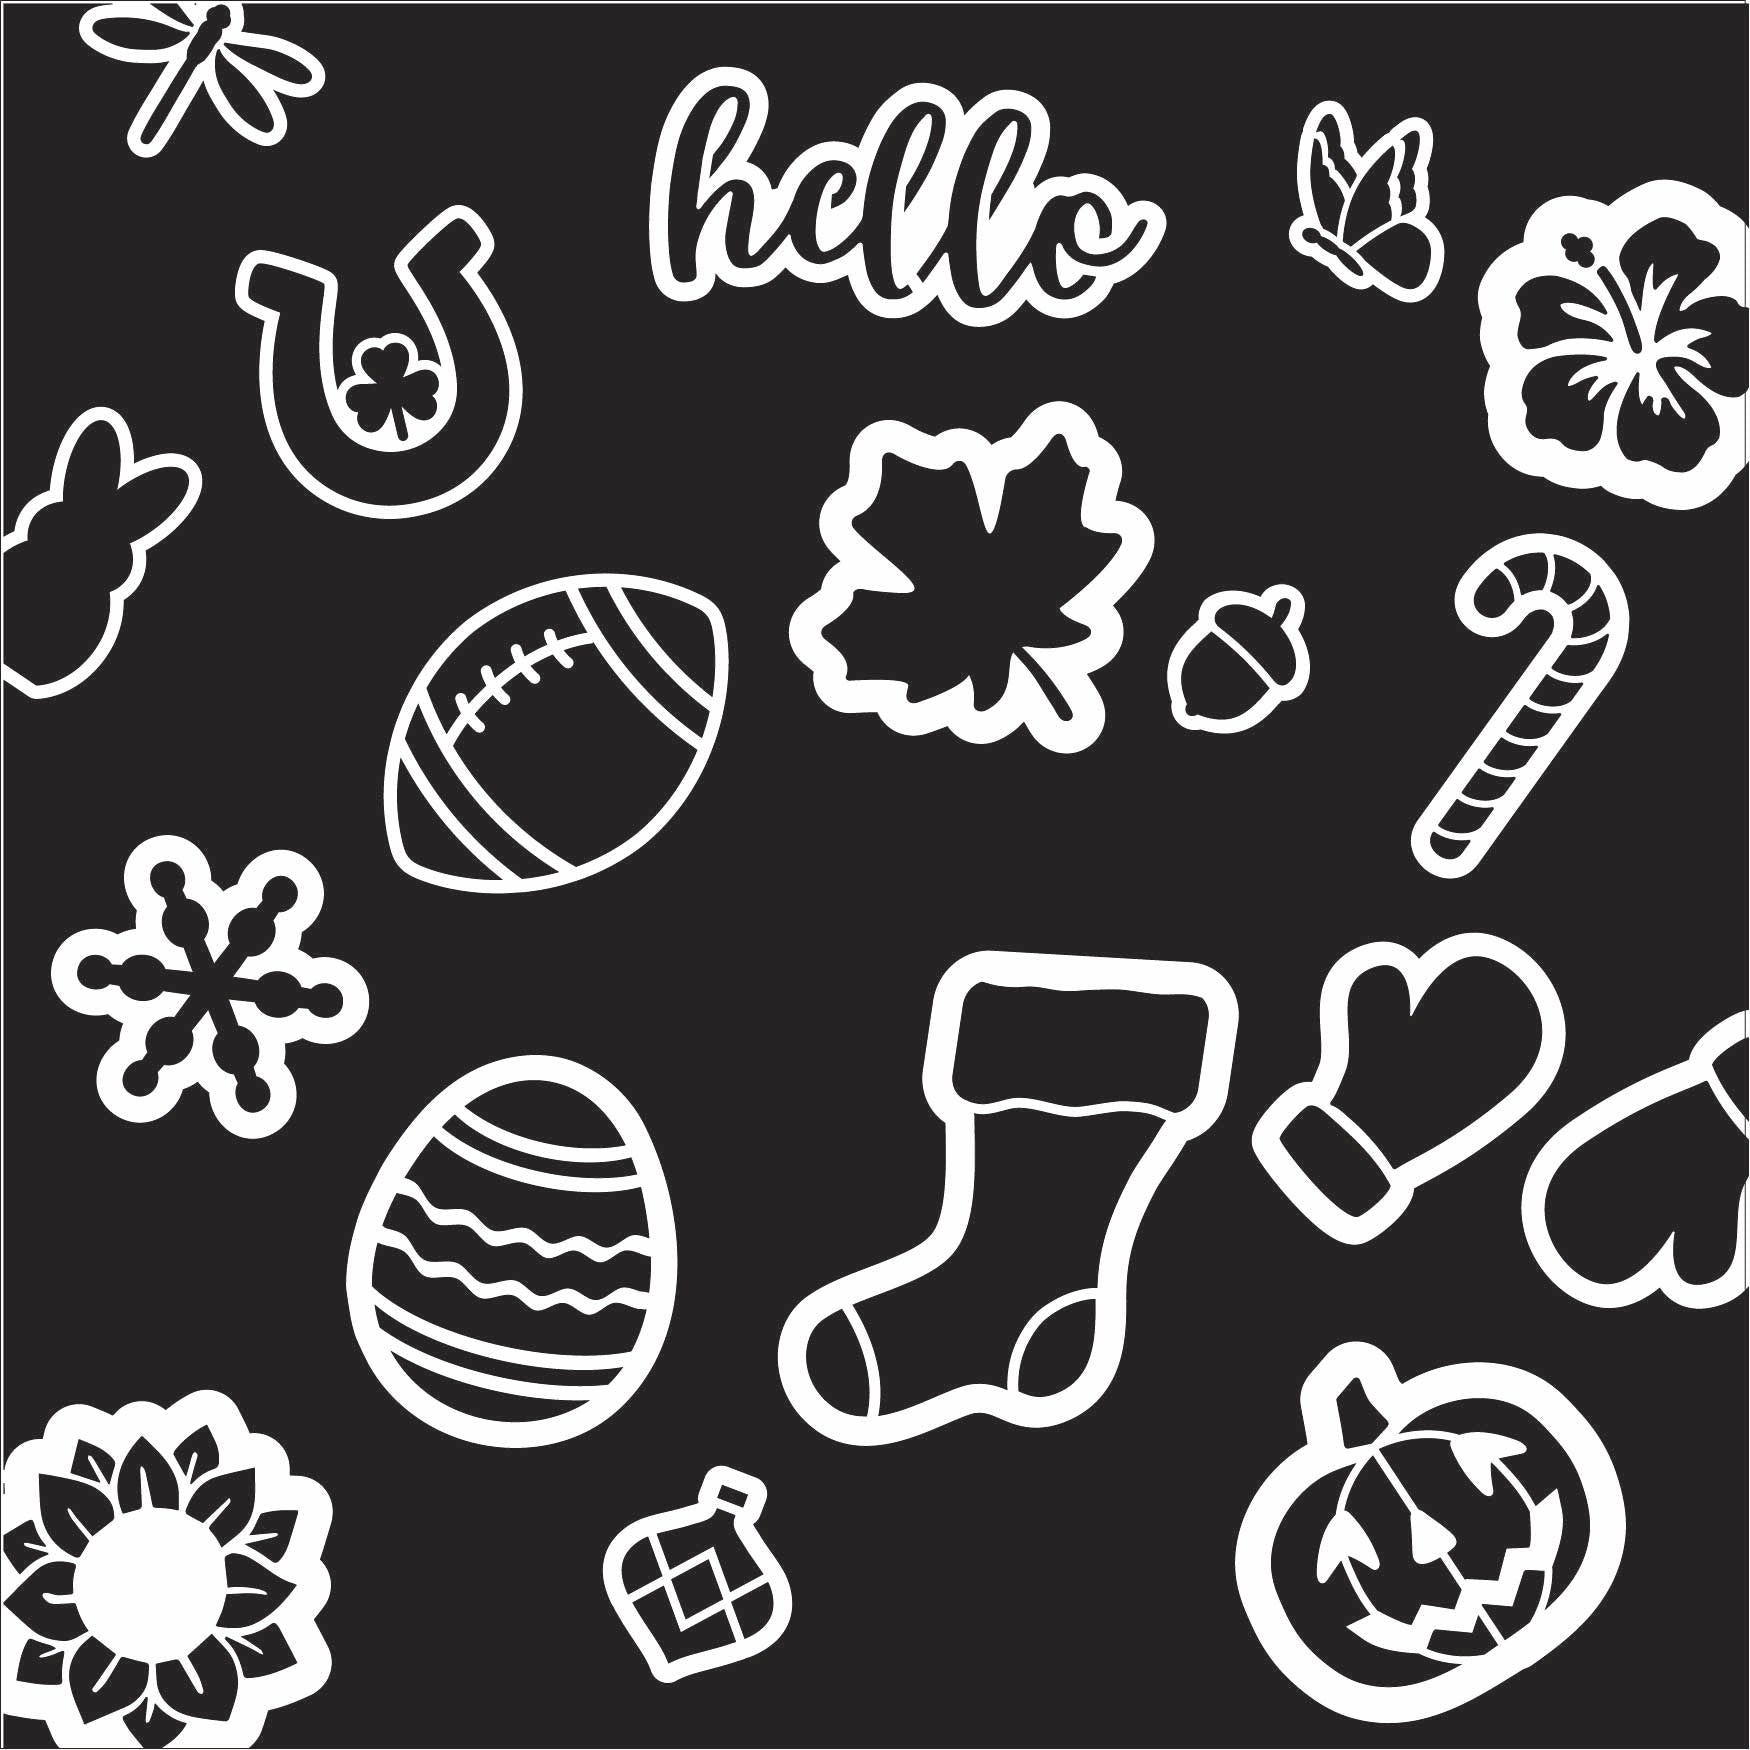
Let your creativity shine! This is what makes Plata Chalkboards so much fun. Mix and match our chalkboard stencil designs to make your home sign as unique as your family.
✨ Tip: Once your stencils are arranged, lean your board against a wall and look at it fromn a distance. It makes it easy to see if you need to reposition any stencils.

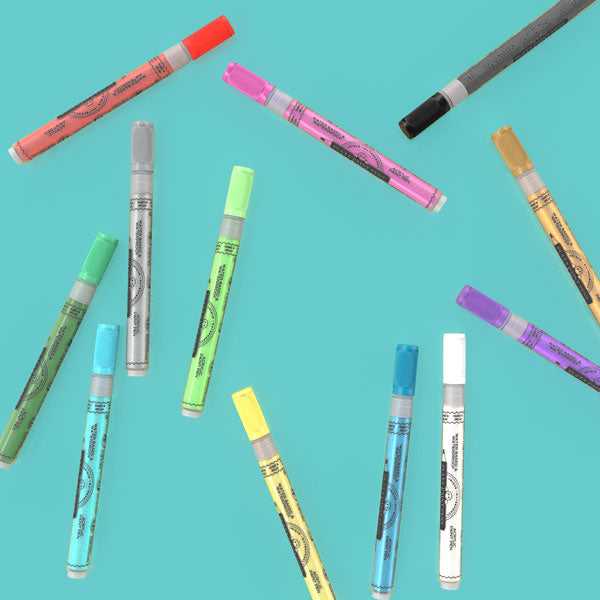
Get ready to add some vibrant hues to your chalk art! Mixing paint colors and using shading techniques can bring your
designs to life, adding depth and personality to your signs. It is easier than you think! Whether you're aiming for the perfect shade or a beautifully blended gradient, playing with colors is where the magic happens.
✨ Tip: Before you start, turn your chalkboard over and experiment with a color palette. This will help you find the perfect shades and combinations for your chalkboard design.
Have fun mixing paint pen colors to get the perfect shade!
Have fun mixing paint pen colors to get the perfect shade!
Adding an outline is a great way to add more something special to your designs.
Adding an outline is a great way to add more something special to your designs.
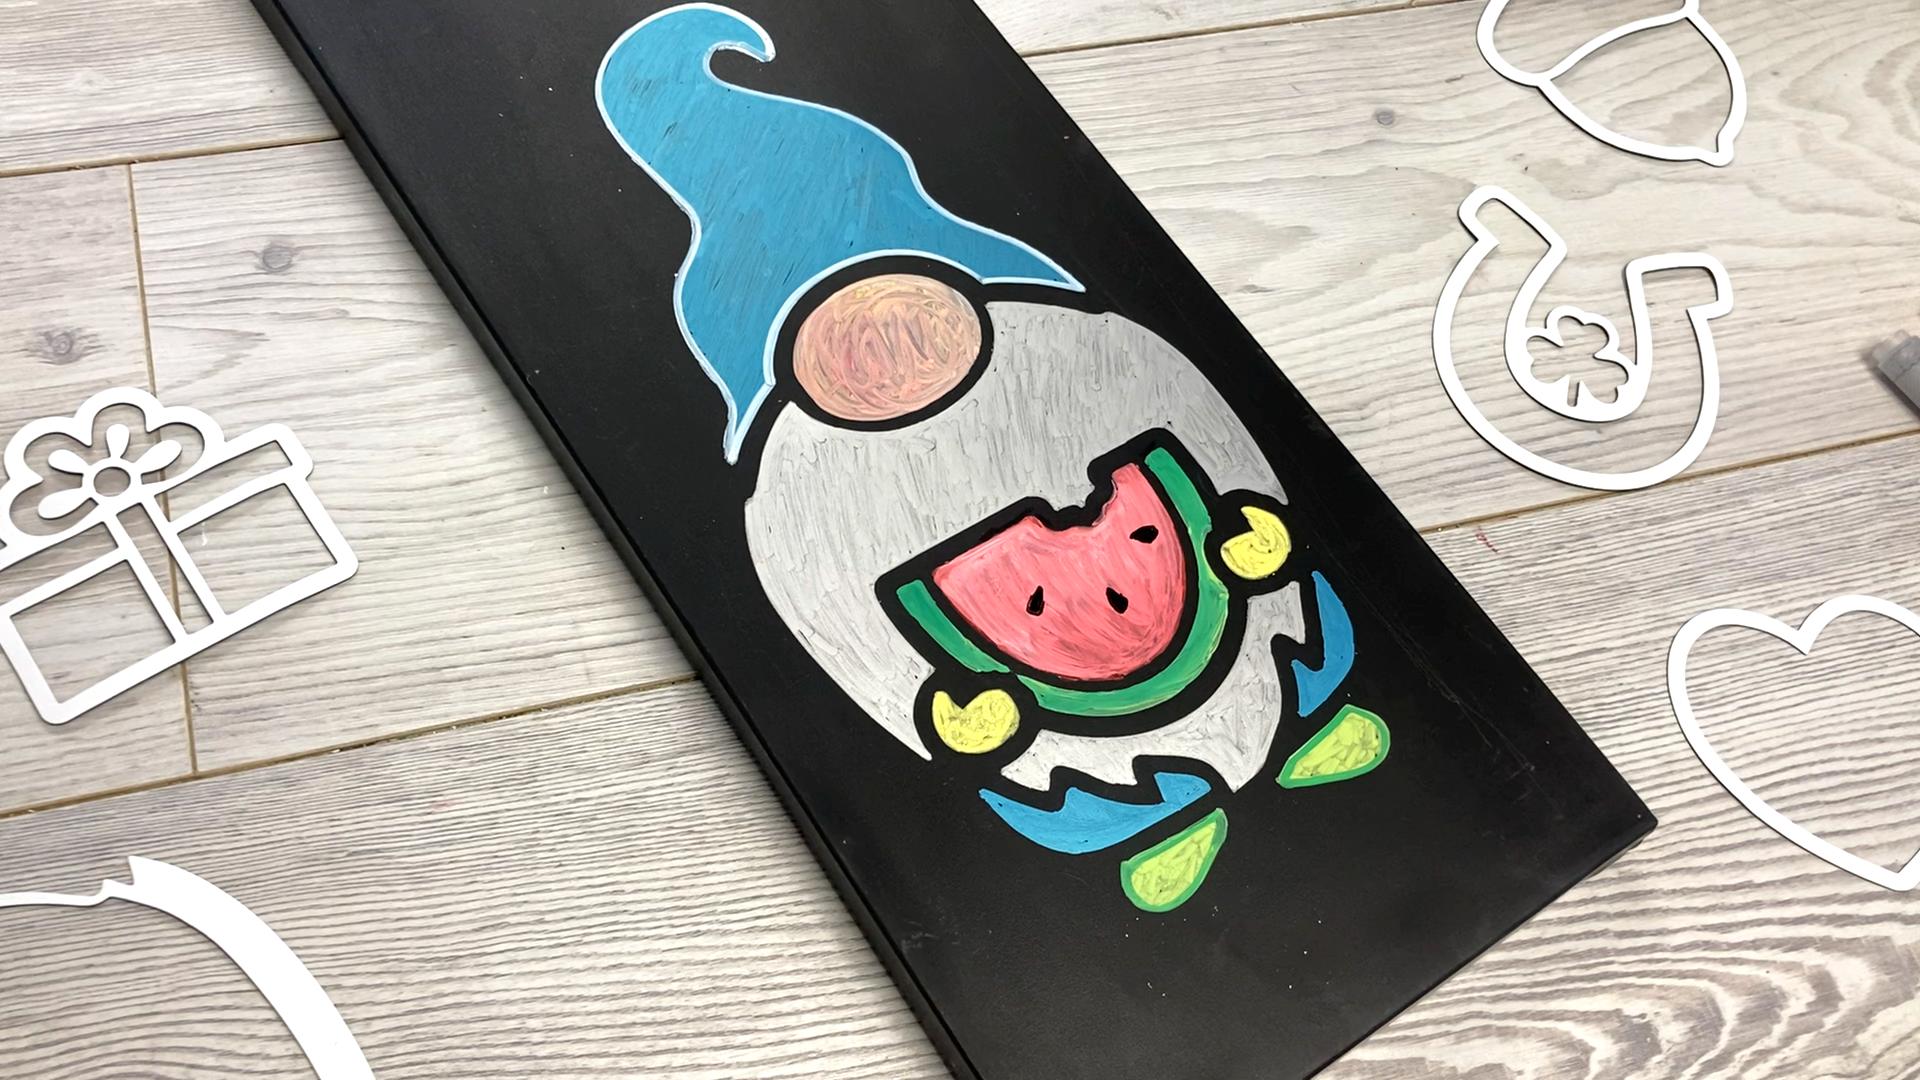
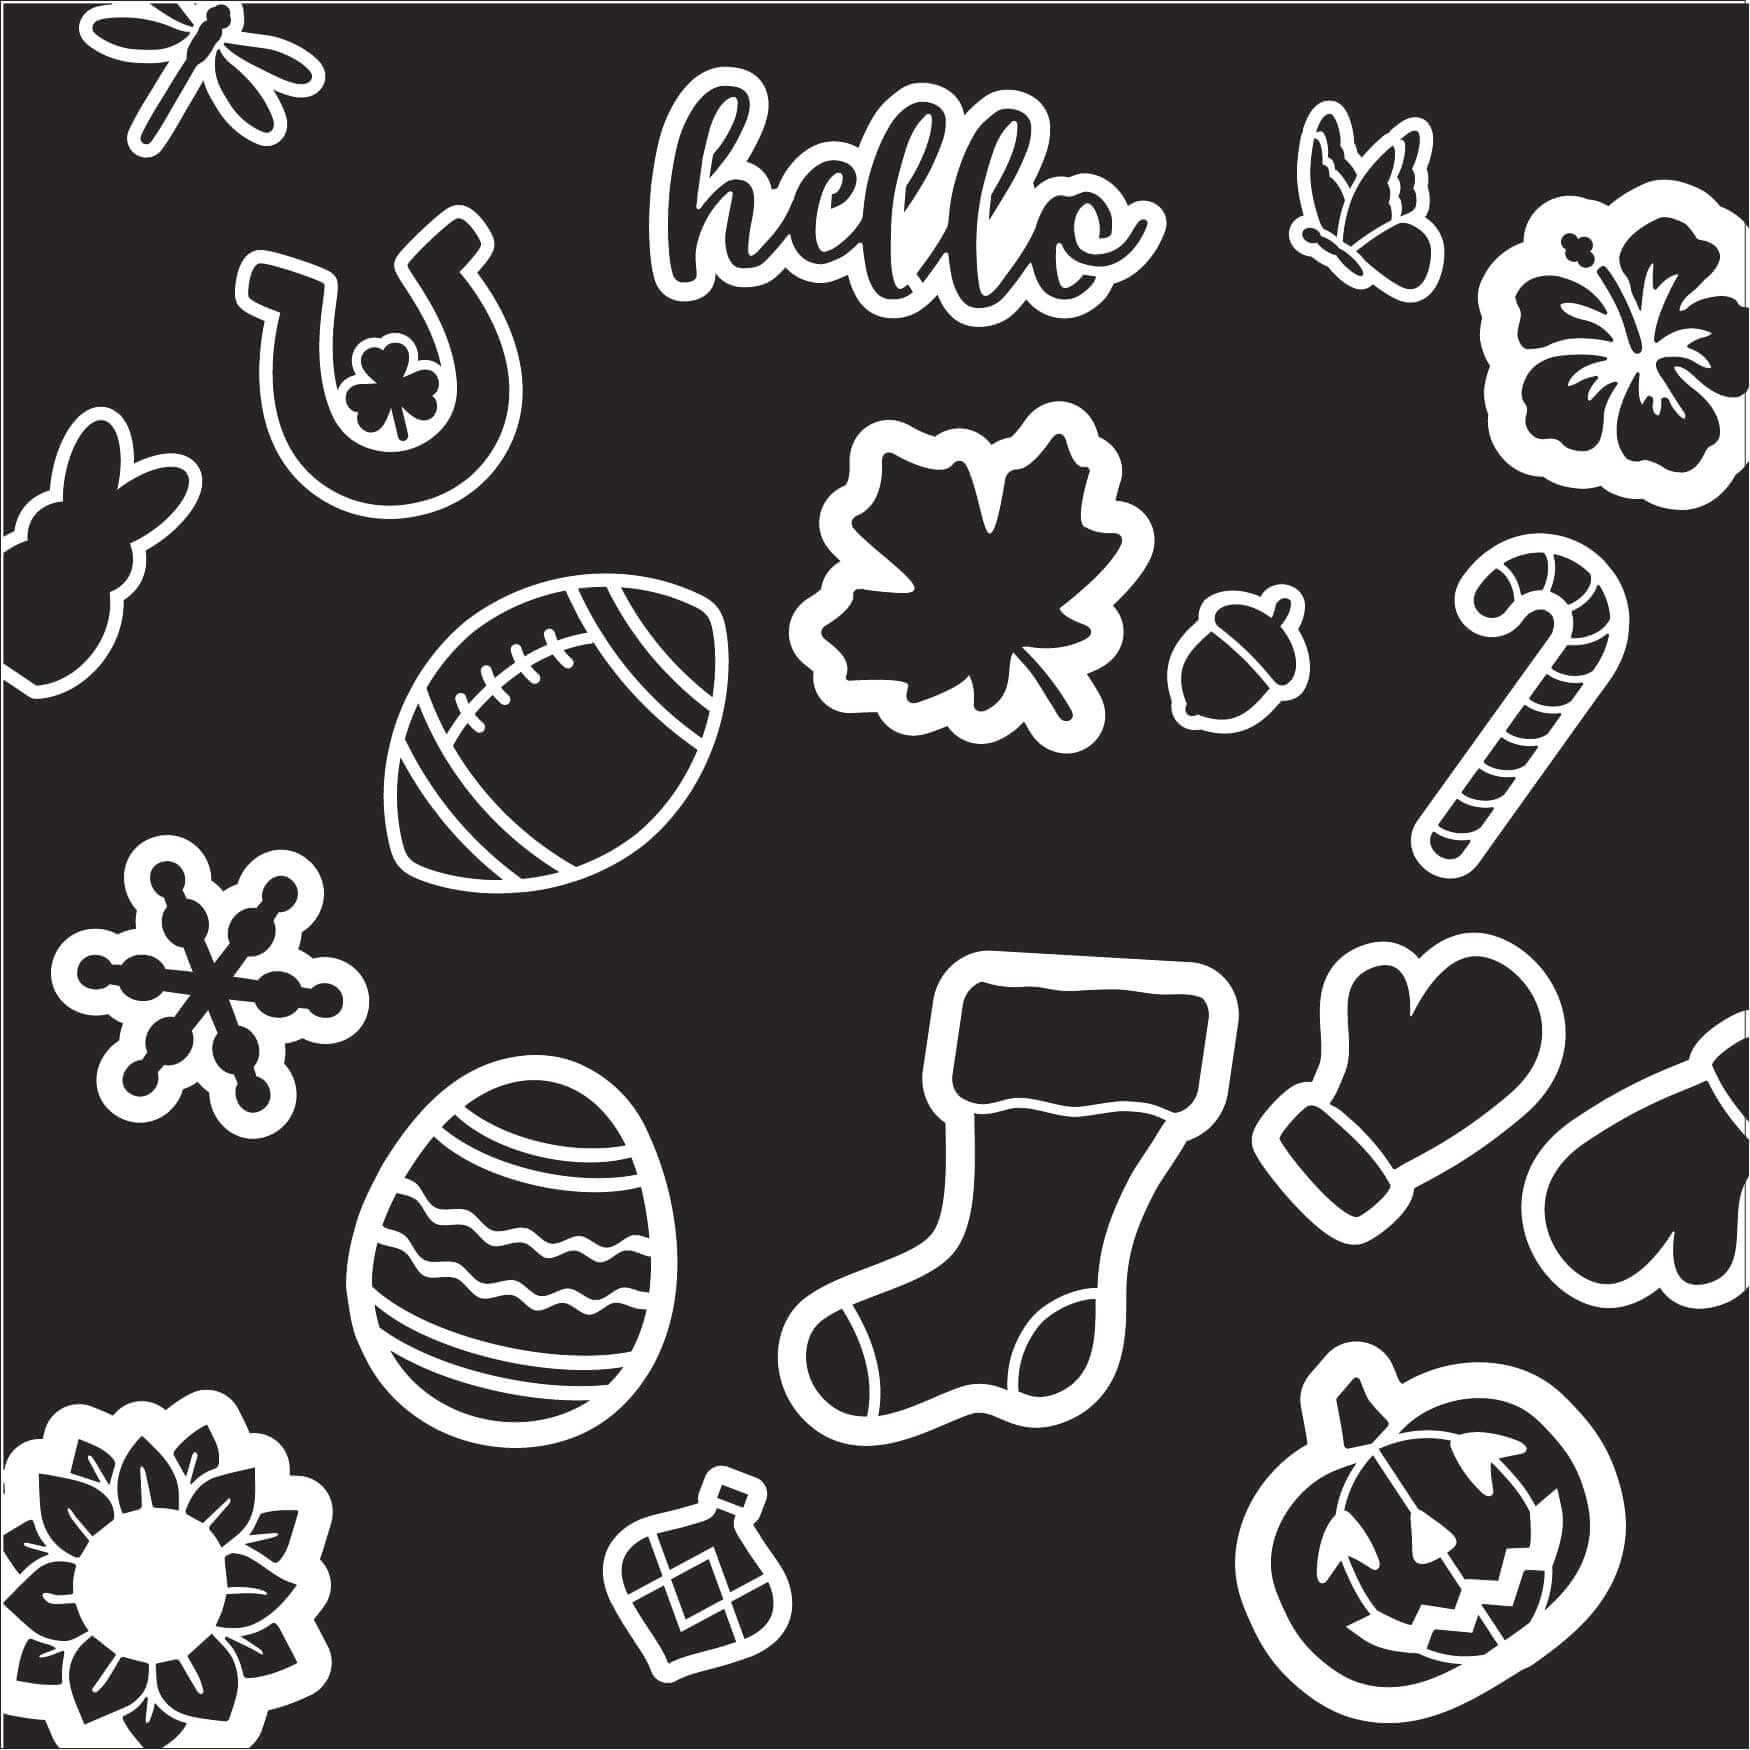
He makes me smile everytime I see him! The Gnome Stencil set includes a heart, shamrock horseshoe, Easter peep, watermelon, acorn & present stencil.
He makes me smile everytime I see him! The Gnome Stencil set includes a heart, shamrock horseshoe, Easter peep, watermelon, acorn & present stencil.
There are a variety of methods to clean your chalkboard, but the easiest way is Lysol®️ Disinfectant Spray. Visit our How-to page for an easy instructions.
There are a variety of methods to clean your chalkboard, but the easiest way is Lysol®️ Disinfectant Spray. Visit our How-to page for an easy instructions.
Avoiding Stencil Bleed & Quick Fixes
Using & Storing Paint Pens
Storing, Cleaning & Fixing Bent Stencils
More Tips for Cleaning Your Chalkboard
Avoiding Stencil Bleed & Quick Fixes
Using & Storing Paint Pens
Storing, Cleaning & Fixing Bent Stencils
More Tips for Cleaning Your Chalkboard
Shop Our Collections of Chalkboards, Magnetic Stencils & Chalk Paint Pens


Find out how a square dance and a platypus helped us triumph over 2400 other products to win a partnership with HSN
Find out how a square dance and a platypus helped us triumph over 2400 other products to win a partnership with HSN

I'm here to help! Fill out the form or email us direct at info@platachalkboards.com. You can also reach us Monday-Friday 8 am - 5 pm EST at 978-413-4542